The Rules of Fine Jewels
Discover the delicate steps taken to produce each and every piece of Nadine Jewellery.
The art of making jewellery dates all the way back to ancient civilizations. Personal adornments began as simple as shells on hemp strings to lavish crowns decorated with glistening gemstones. An art form as such, creating jewellery has evolved over time thanks to experience, passed on techniques, and technological advancements that further enhanced the development of making fine jewellery from newly discovered gemstones and precious metals.
As you can imagine, since it is such an ancient art, there are many different methods to manufacturing jewellery. Metalwork techniques developed over the years include; forging, soldering, stamping, filigree and granulation, hammering, inlay, enameling and lastly electroforming – a technique most similar to what jewellery designers use today. This technique is focused on the art of building forms by electro-deposition on a base of a medium such as wax, wood, paper, tinfoil, or polystyrene. The materials are molded and left inside the newly electroformed piece or they can be burned out. Most similar to the hands-on technique most jewelers use today, this method includes the building and refining of forms to ultimately get to the final product. No detail is overlooked in the multi-step process as rough stones and precious metals are carefully transformed into wearable pieces of art, designed to tell a story.


Design
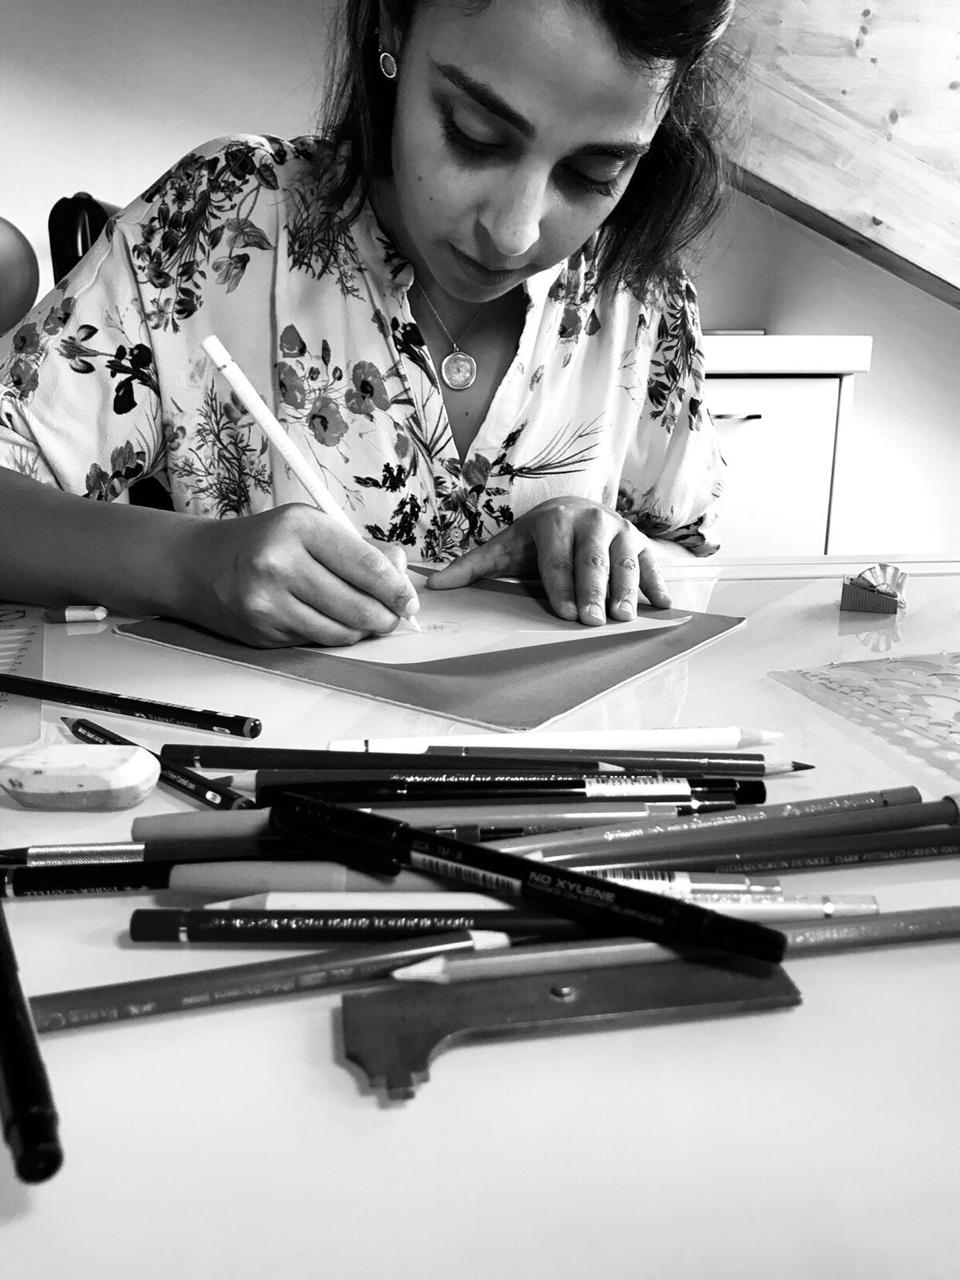
Roughly a ten-step process from concept to creation, it all begins with the development of the sketch. Ideas come to life on paper as inspiration is translated into a wearable design. Nadine founder and creative director, Nadine Attar, remains true to the classic method of sitting down with coloured pencils and paper to take a sketch from a simple outline and transform it into a two-dimensional concept designed to scale.
Engineering
Following the sketching process, the engineering of the design is considered and discussed in through detail with Nadine and the manufacturer. To bring the 2D sketch to life, a technical CAD (Computer Aided Design) drawing is rendered.
Once the design concept is fully understood and approved, a prototype is crafted from resin to create a tangible object, which can be inspected in great detail and reviewed prior to going a step further into the process of the design. Many tools are at hand to ensure the first tangible form of the design is thoroughly worked-out and carved to capture the true essence of the original sketch.
Manufacturing
With the resin model approved, the next step is to produce the first metal prototype, crafted from silver. In order to do this, the resin form is encased in a plaster-like investment where the resin model will eventually be melted and burned away after being placed in a scolding hot oven. Once the resin model is burned away in the oven, the mold is left empty and ready for silver to be poured in and set to ultimately create the first perfect three-dimensional impression of the piece of jewellery.
Once the silver prototype has been approved, the next step is to translate the design into its final form in gold. In order to do this, another two steps must be made. The final gold product is produced the same way the silver prototype was created, in a special flask, which is filled with the precious metal. When the gold is completely hardened, the mold is broken and the jewellery is then on its way to being polished.
Sanding, buffing, and pre-polishing are all done by hand on a polishing wheel to ensure no detail is left untouched. Quality control with handcrafted designs is a highly important part of the process before the piece is assembled.
Assembly of the jewellery means attaching posts for earrings, clasps for bracelets and necklaces and die-struck heads to hold the gemstones. A special gold alloy that melts at a slightly lower temperature is used to solder or weld these gold findings together.
Stone Selection
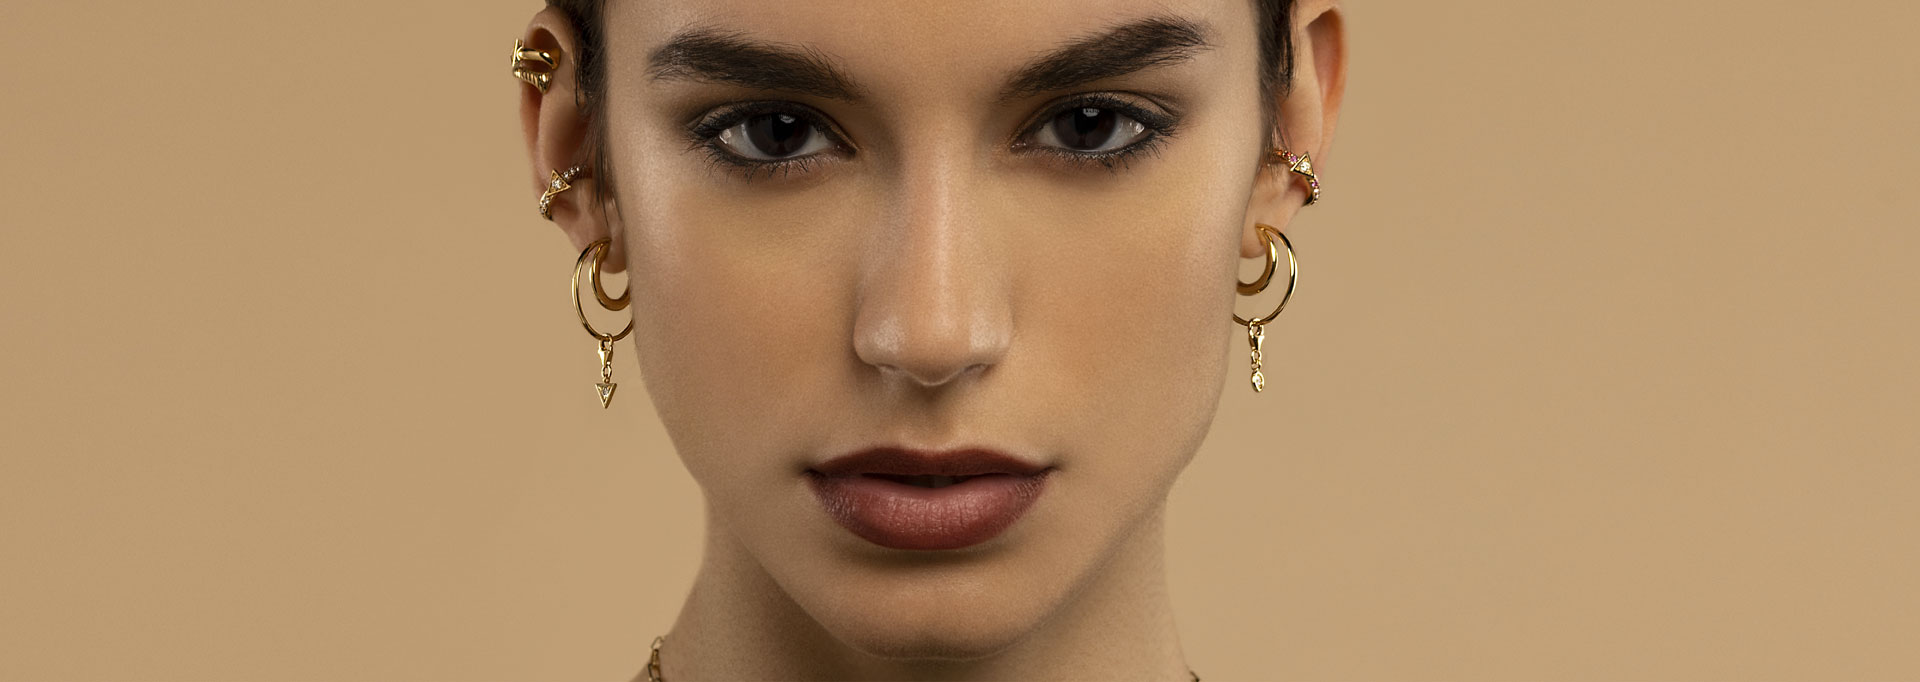
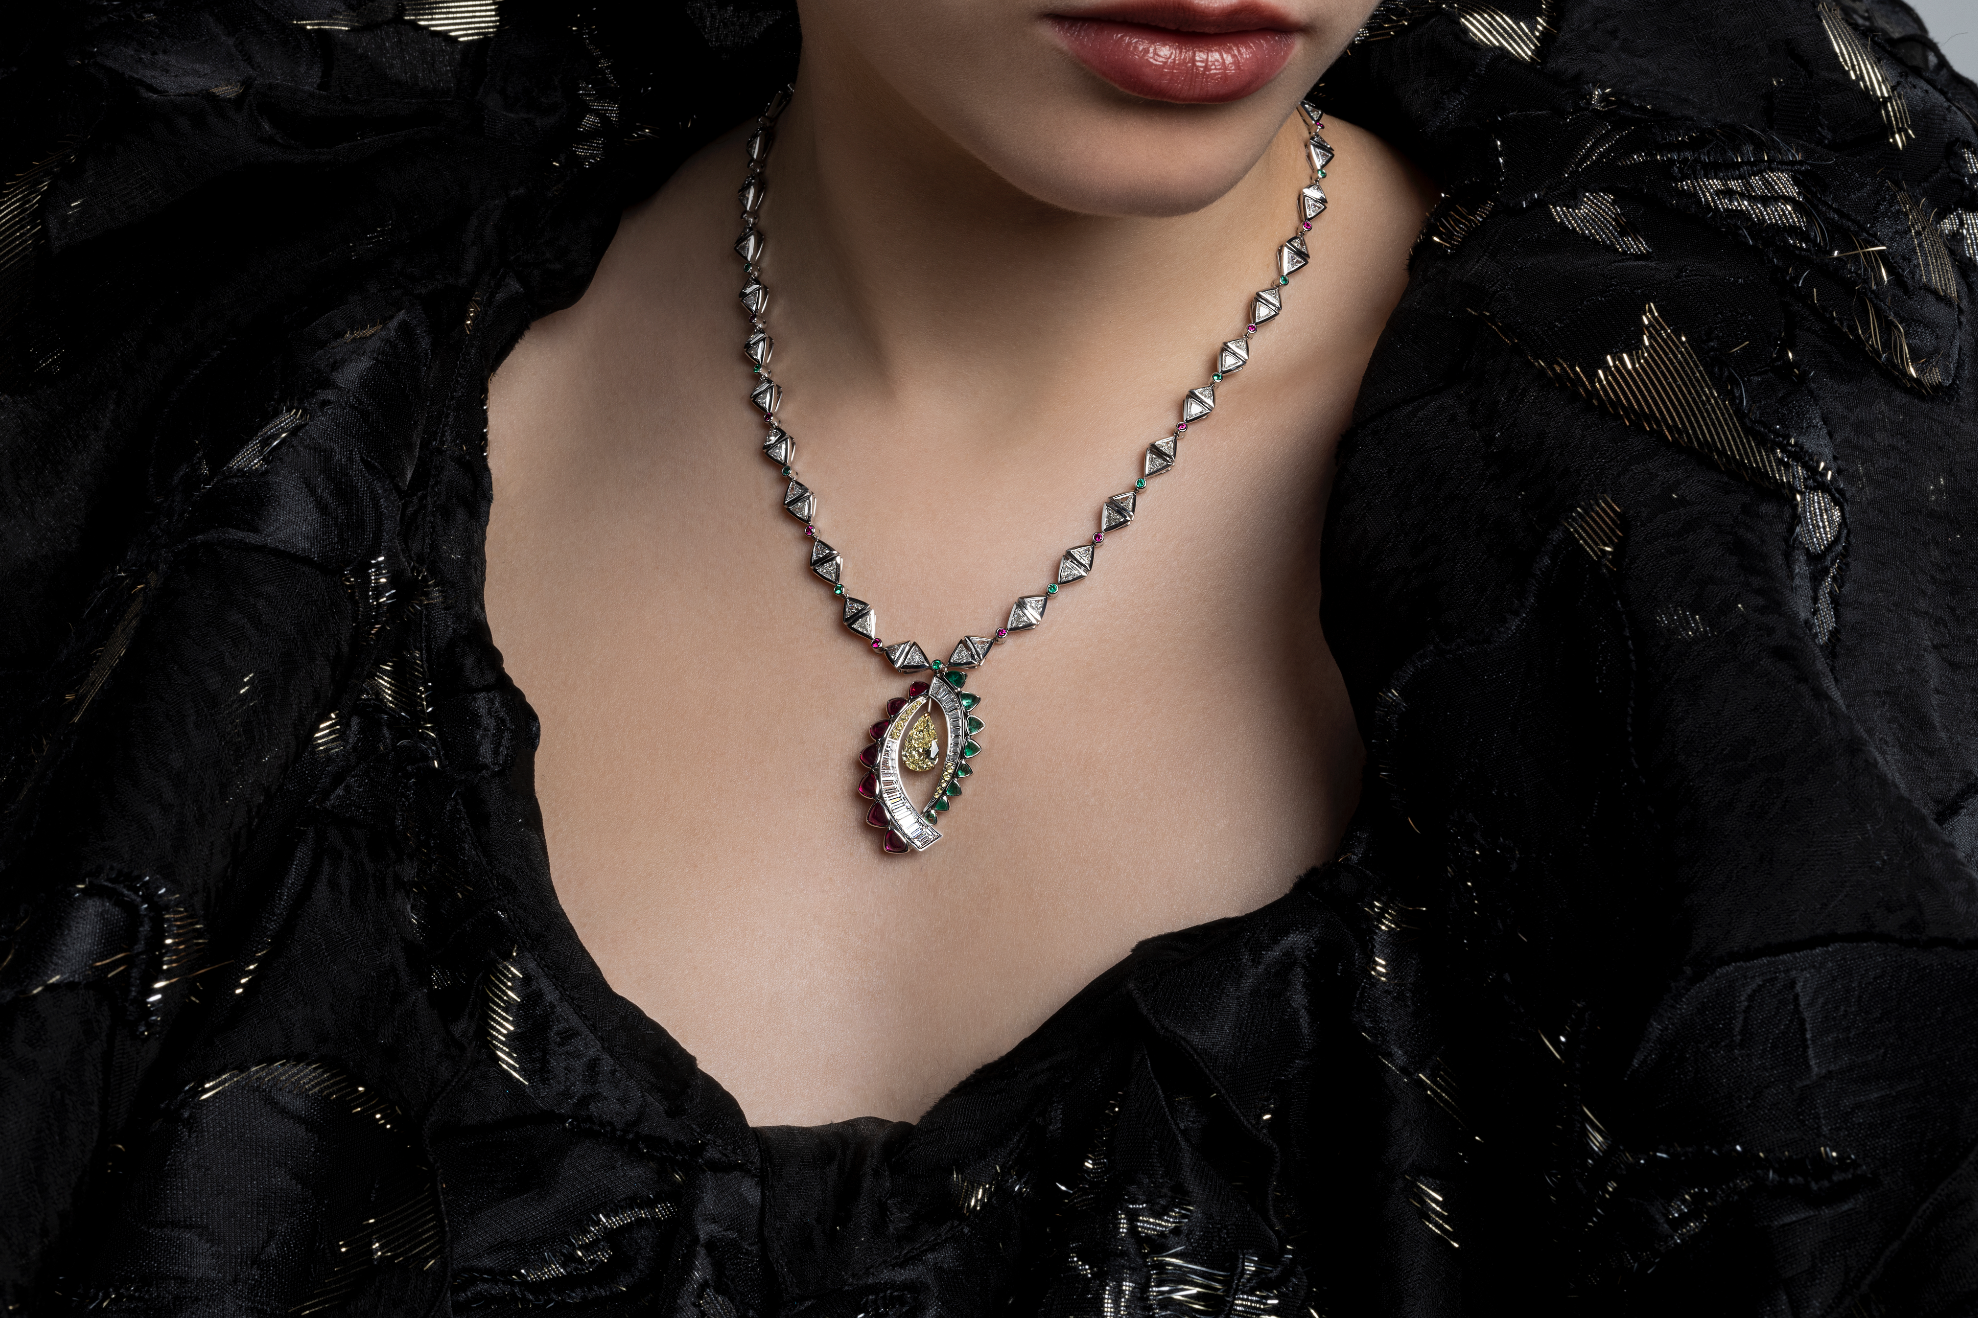
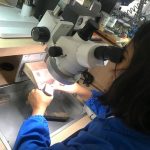
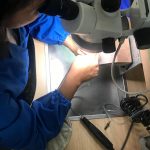
Finally, a long way away from the sketch, the jewellery is ready to be adorned with top-notch quality gemstones. Selecting and setting the gems is one of the most important and skilled steps along the process, as many concerns must be factored in. A slow and steady pace must be kept in order to ensure the stones are not scratched or damaged in this step of the process. The gem must be held squarely and securely in place to ensure that when it’s worn, not a single stone can go missing. Once all of the gems are placed, not a single gap can be seen and the item looks whole, and as one thanks to the careful craftsmanship and skill applied. The final touches give the piece of jewellery a little love and light polish by way of the jeweller’s cloth.
Quality Control
Not a single piece of Nadine Jewellery is sent to its new owner and admirer without first passing through the careful inspection of the quality assurance team and most importantly a careful quality check finally completed by designer, Nadine. Everything is checked and rechecked from the dimensions matching the initial approved design, to the stones fitting properly and safely in their settings, that the functionality of the piece is correct (this is especially important in the design of the Sirr Lockets which must be able to open and close securely), that the polishing is done just right and that the overall final product is a true representation of designer, Nadine’s vision for the piece.
From start to finish, the process of manufacturing jewellery takes time and attention to detail. Impeccably inspired and carefully conceptualised, each piece of jewellery is its own unique piece of art; it’s a timeless treasure there to tell your story. Just as we humans take molding, nurturing and developing over time to ultimately become our true selves, every piece of fine jewellery must go through its steps and phases to become a remarkable and note-worthy design.
Book an appointment today to privately view and shop Nadine Jewellery to own your own exquisite piece of wearable art.